We're here to help make your in-ground project run as smoothly as possible. Although perhaps daunting at first, installing a Capital Play In-Ground Trampoline is really very simple, it just takes a bit of muscle & time. We have listed some of our most frequently asked questions below.
If you need further assistance please email us on sales@capitalplay.co.uk or call us free on 01276 855600
Safer. In-ground trampolines are generally safer than normal trampolines because they're flush-to-the-ground not raised above the ground accessed by a ladder. Parents have peace of mind when they let their kids loose on an in-ground trampoline. There's no worrying about young children falling off the ladder or remembering to zip themselves in.
Statistically, most serious trampoline accidents happen when children fall through an open zip/damaged net or fall off while climbing up the ladder to access the trampoline. These risks are negated with an in-ground trampoline.
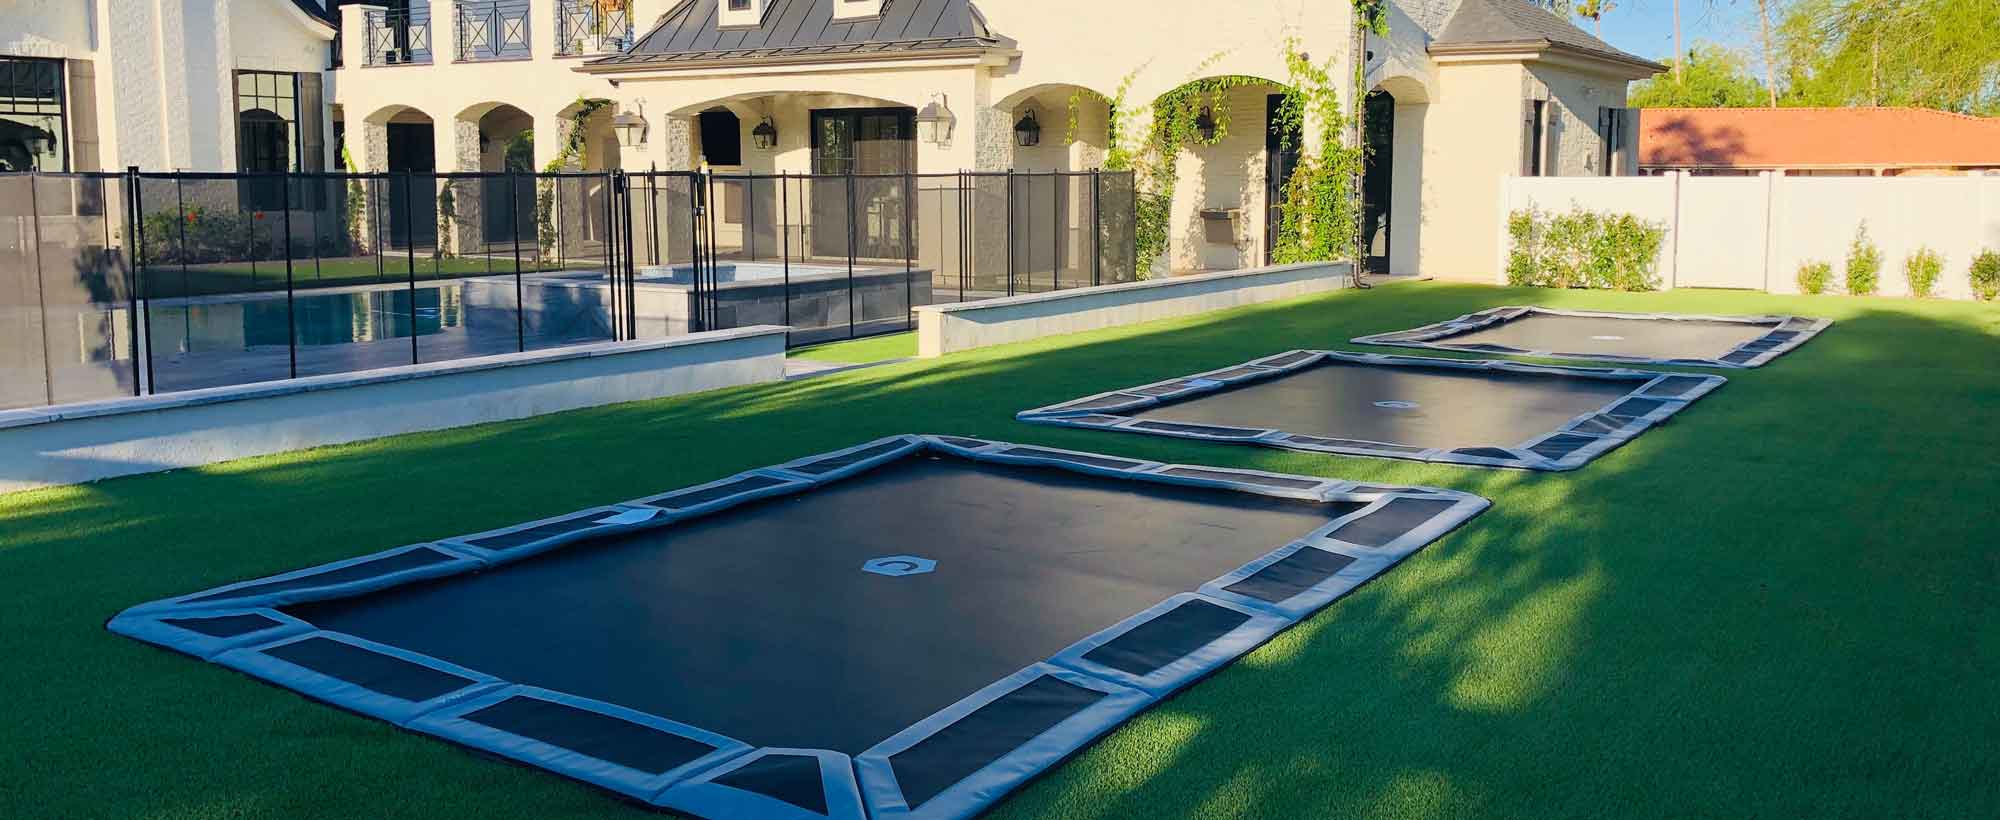
They look amazing! In-ground trampolines are designed to work with your garden design unlike traditional trampolines which can be an eye-sore in a garden. Above ground trampolines take up a significant amount of space and are immediately visible in a garden. For those conscious about the presentation and look of their garden, this is a significant drawback. This is not a problem with in-ground trampolines as their lower profile makes them less obvious, or indeed hard to spot at all - they easily blend in with the surrounding landscape.
Freedom to play, more fun. Kids can run on and off the trampoline at will and play many more creative games. There's no net or platform to interfere with their enjoyment. Parents need not supervise as much as issues of 'getting on' and 'getting off' the trampoline are removed.
No fear of being enclosed. Young kids sometimes get frightened being zipped inside a net away from their mom or dad. An in-ground allows parents and children to interact more - mom and dad can stay in close contact at all times.
Better bounce. The trampoline frame is buried firmly in the ground allowing no movement of the frame. On a traditional trampoline energy can be dissipated as the frame moves a little when you bounce. This does not occur on an in-ground trampoline resulting in a better quality bounce.
Quieter. In-grounds are less noisy because the frame (which can squeak) is buried underground and the retaining wall keeps the frame very rigid. Trapped air escapes silently through the pads.
Lower maintenance cost. In-ground trampolines cost less to maintain if you do not have a net which is the most frequently required and costly replacement part.
Less damage risk. In-ground trampolines eliminate the possibility of damage occurring because your trampoline cannot be blown away in high winds.
Great for parents. Climbing up a small ladder and through a small zip can be somewhat off-putting for an adult. It's much easier to just walk onto the trampoline. You'll love it!.
They need not be and with the new range of Capital In-ground trampolines, they are now more affordable than ever. If you're prepared to do the groundworks yourself (i.e. dig a hole), then the only cost is the Capital In-ground Trampoline Kit.
Our kits include everything you need - a top specification trampoline designed specifically for in-ground installation, retaining wall and vented surround pads for a superb bounce and no 'pad slap' noise.
The bounce quality of an in ground trampoline can be compromised as the air under the trampoline gets compressed resulting in an inferior bounce. It's important to allow the air to escape freely and the best solution is to use vented pads pictured here.
You can also use vent ducts using 4 inch flexible ducting hose coming from under the trampoline to somewhere on the outside of trampoline. The problem here however is to decide where to put the ducting so it doesn't become an unsightly hazard near the trampoline.
The actual frame of the trampoline is held very firmly when it's in the ground and therefore minimal energy is dissipated through small movements in the frame that you get with an above ground trampoline. This helps to improve the bounce of an in-ground trampoline.
When you bounce on a trampoline, the air underneath needs somewhere to escape. On an in ground trampoline the only place for the trapped air to be expelled is through the springs and under the safety surround pad. The trapped air can force the pads up which then slap down against the trampoline mat. This noise can be loud and off putting - pad slap noise has even been known to cause neighbourly disputes!
The Capital In-ground range of trampolines have been designed specifically with DIY in mind. The Capital In-Ground kits come complete with everything you need - that's the frame, the retaining wall, springs, bounce mat and vented pads.
Easy to use instructions are provided and telephone/email help is always available from our qualified staff.
If you're feeling energetic, all you need is a spade, pick-axe, wheelbarrow and plenty of muscle-power. It would typically take two people one day to hand dig a hole for a 10ft or 12ft trampoline in average soil conditions.
In difficult or hard soil, you may wish to hire an electric vibration dampened breaker from your local tool hire shop. They're not expensive to hire, easy to use and will greatly assist in digging out your soil.
If you want to hire a mini digger, this is a good option, but can be expensive, you may have access problems and they can cause damage to your lawn/garden. Also do not underestimate the difficulty in operating a mini digger. Whatever your hire shop might say, mini diggers are not that easy to operate, especially when your trying to dig quite a precise round hole. You're best to always hire an experienced 'man with a digger'.
Surprisingly you need a bigger skip than you think - soil expands up to three times when it's taken out of the ground, beware! For most size trampolines, we recommend using an 8 yard skip (that's a skip that holds 8 cubic metres of soil). If possible try and find a skip that it comes with a fold-down front to allow you to easily wheelbarrow the soil into the skip.
You could use two smaller skips, say 6 yard skips, that have a lower end (about 2ft) to make it easier for you to make a ramp up over the end in order to deposit the soil. Skip sizes do vary in shape and size, so do make sure you can easily ramp up to the skip or make sure it has a fold-down front.
You can also consider using a grab-lorry to remove your excess soil, this can be cheaper and easier for you. Simply put the soil on your driveway (on protective boards or tarpaulin if possible) and the grab lorry will pick the soil with its extendable grab arm.
Many people keep their soil in their garden and create a feature nearby. This could just be a simple mound for the kids to play on or for example you could make some raised flower beds with railway sleepers or fill in a low area in your garden.
You could even create a 'doughnut' around the perimeter of your trampoline.
The answer to this depends on the type of soil in your garden. If it's sandy soil this should drain well and no water will collect under the trampoline and generally you need not worry about drainage.
If however you have clay or chalky soil then rain water can collect in the bottom of the pit. It's advisable to put a simple soak-away in the very bottom of the hole you have dug. This is a simple task and usually sufficient to provide sufficient drainage for you. See next FAQ below.
If you're looking to dig your trampoline into the ground where it's particularly wet, liable to flooding or you have a high water table, you should contact a drainage expert who can advise on the best solution. Typically this could be to dig in drainage channels away from the hole to a lower level in your garden.
If you have any doubt about drainage issues or having a high water table, then we strongly recommend you dig a trial hole 3ft deep and wait 24 hours to see if water collects in the trial hole.
Unless you're confident that your ground will drain well, it's a good idea to build a simple soak-away to allow rain water to drain into the ground and not collect at the bottom of your hole. It's easy and not expensive to do this and does not take long to construct. For a simple, cost effective DIY soak-away, just follow the instructions below.
1. Dig a new hole at the bottom of the main hole about 2ft (60cms) in diameter and about 2ft (60cms) in depth.
2. Line the hole with a permeable weed membrane (available at most DIY stores) and fill with scalpings, shingle or just crushed hardcore. The membrane will stop the hole silting up and allow water to collect and drain properly.
3. Finally wrap the membrane over the top of the hardcore/shingle/scalpings and lay some slabs on top to seal the top. You now have a very effective soak-away.
If you're not using a net then you should try to allow 2 metres around the perimeter of the trampoline. For in-ground trampolines, there is a more of tendency for children to run or fall off the side of the trampoline as there is no drop to put them off, so you should ideally make sure there are no hazards such as low height brick walls or concrete fence posts nearby. You can always put protective cladding over any potential hazards for added safety.
If you are using a net you can allow less space around the sides - common sense applies!
The Capital In-Ground Trampolines have been designed to make it easy to use a safety net if you wish. The enclosure poles fit directly into the top of the frame and a top rod and high quality net provide you with added security should you wish.
The enclosure system is an optional extra which can be purchased with the Capital In-ground Kit. It's easy to assemble and take down. You may decide to start with a net if you have younger children with a view of taking it down as they get older.
Our general advice is to only cover your trampoline in the depths of winter or if you're going away for any length of time. Our trampolines are fully weather-proof and you do not want to put up any barrier to letting your kids enjoy the trampoline. Trampolining is just as fun on a cold, crisp winter's morning as it is in the summer. In winter, you'll especially want to encourage your kids to get some exercise outside away from the TV!
Yes, if you have a Capital In-ground Trampoline, it's very easy to lift the whole frame and wall out of the ground, remove the retaining wall panels and disassemble the trampoline. The hole can then be filled in again to leave the area as it was before.
This is useful if you move to a new house or when your children get to an age when they have other interests outside trampolining.
We provide a 10 year warranty on the frame and wall, 5 years on the mat and springs and 2 years on the vented pads. The warranty covers manufacturing defects incurred in the normal use of the trampoline. Damage incurred through normal wear & tear, damage caused by misuse of the trampoline or accidental damage are not covered under warranty.