Timeline for your typical in-ground installation
We recently installed a 12ft Capital In-ground trampoline in a beautiful Sussex garden with the help of a mini-digger. Starting at 8 am, the whole project (despite having to barrow the soil some 100 mtrs down the garden) was completed by 3pm and we had some very excited children who were able to bounce on their trampoline on their return from school.
Here's a break-down of the day's events:
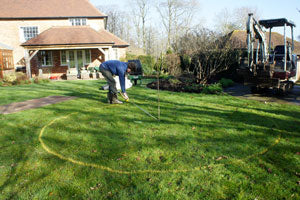
8am:
We agreed with the customer where to site the trampoline and marked out the circumference of the hole.
8.30am:
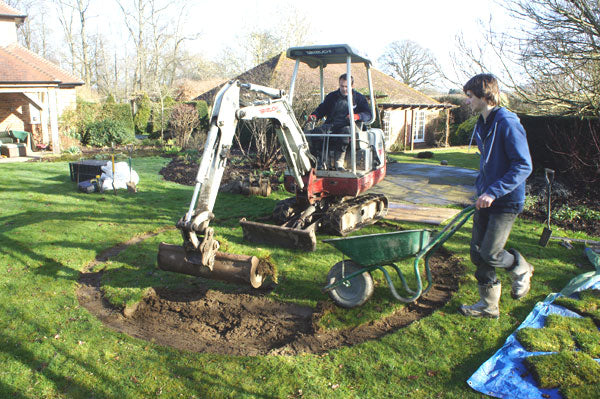
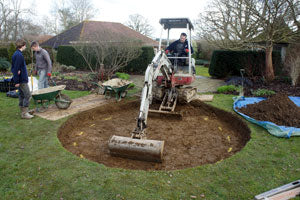
We started by removing the turf from the outside by hand and keeping nearby to use again to fill in on the outside at the end of the project. The digger then got to work to start digging down to a depth of 33cm in the full diameter of the hole.
9.30am:
Now well into the hole dig, we removed the soil down to a depth of 33cm throughout the 12ft diameter.
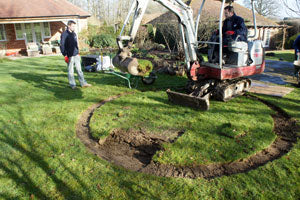
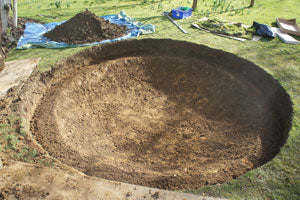
1.00pm:
An hour or so later the inner hole was dug and all the excess soil removed, ready for a soak-away and weed membrane.
2.00pm:
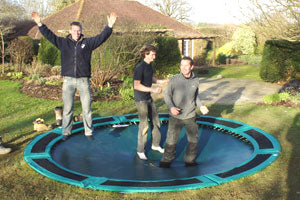
In a separate area we then built the trampoline and put the retaining wall on - the whole process took about 45 minutes. We then dropped the trampoline in the hole, fitted the vented surround pads and did the finishing landscaping.

3.00pm:
Job done!